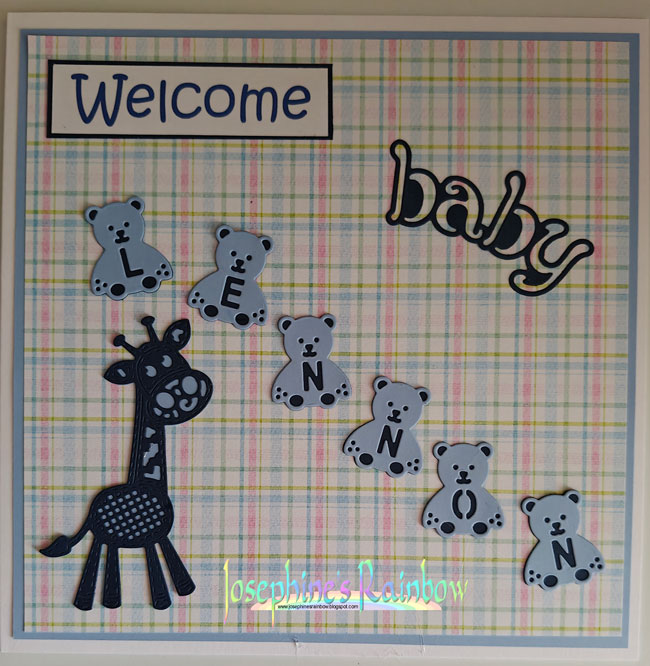
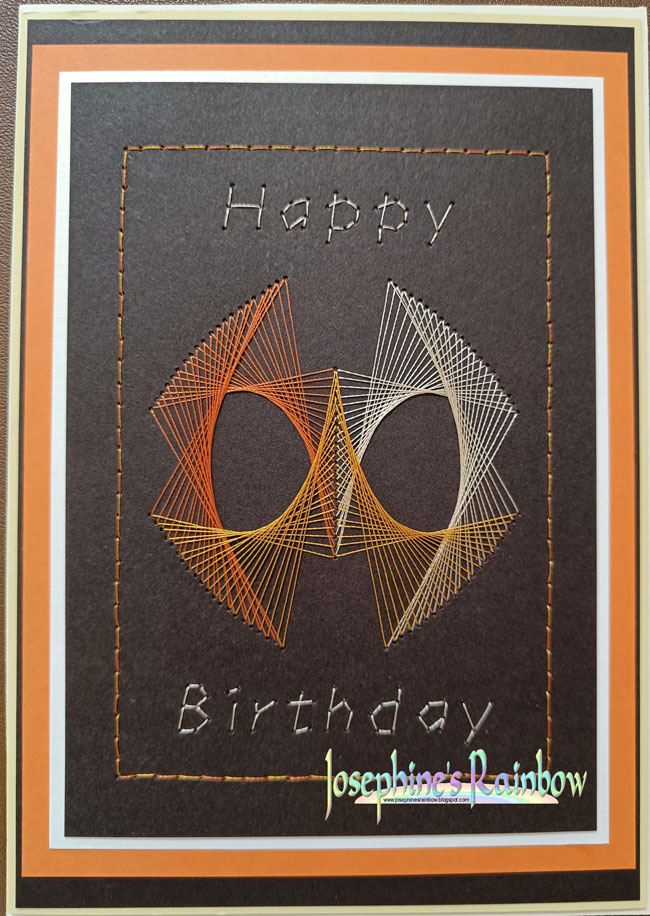
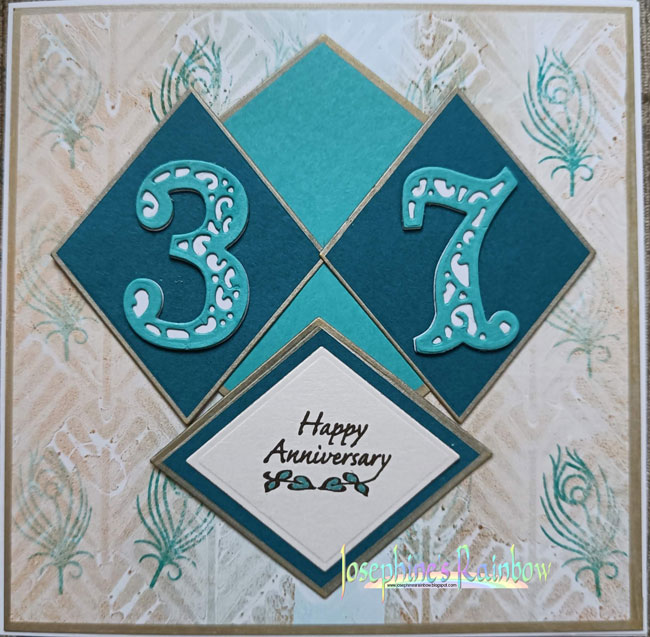
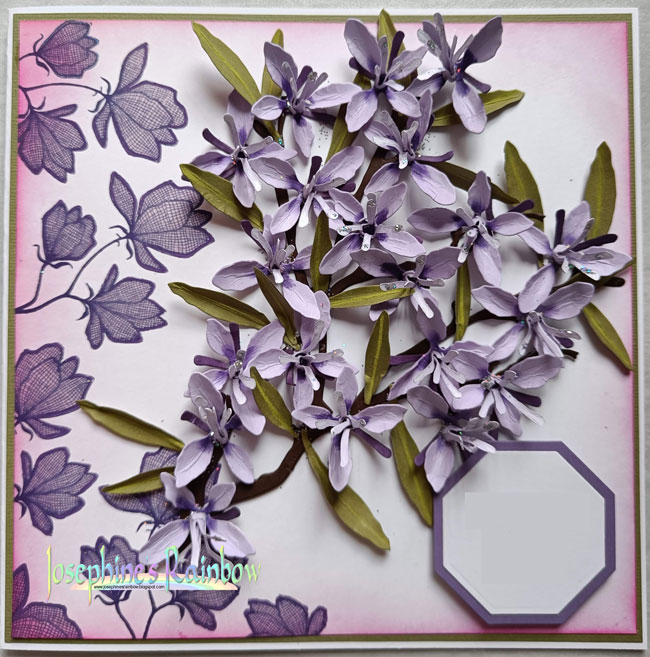
I've had to make a few 'Thank You' cards for people with a range of interests.
Translate
Friday, 1 August 2025
Thank You Cards
Tuesday, 27 May 2025
Recent Projects
I rarely seem to post anything here any more. Projects which I complete as part of my u3a craft group do find their way on to that blog, but here's a range of things I've made this year.
Wednesday, 1 January 2025
Happy New Year
I've been taking advantage of good buys in the run up to Christmas, and finally have had a chance to play!
Saturday, 2 November 2024
Clarity Stamps and Stencils
I recently took advantage of a 50% sale at Clarity Stamps and got myself a set of stamps and stencils I admired when I last looked. I've used one of the sets to make a card for a friend.
Friday, 23 August 2024
It's been a While!
A few years ago, I took over running a craft group in a local u3a. I'd been a member pre-lockdown, and once we got back to meeting, the organiser felt she no longer wanted to do it, so either someone else had to, or the group would end. I agreed, and as a result, I've had to try out lots of different types of crafting and I rarely seem to be able to do something simply because I want to. However, we don't meet in August, and while I've had to think about the projects we have planned for next term (crochet, clay, acrylic paint amongst others), I've managed to get a little time to do some things I really enjoy.
I volunteer in a hospital one day each week, and work with two people there who happen to have the same birthday which is next month, so I decided to do each of them a birthday card.
Monday, 11 December 2023
Foam Flowers
It's a long time since I posted anything here: things have been busy, and most of my crafting seems aimed at the u3a craft group I belong to. But here are a couple of independent projects I've completed using flower foam.
My most recent flower project: I bought a metal wreath base from Hobbycraft, covered it in ribbon and then added a variety of flowers and leaves. The greenery was made using Susan Tierney-Cockburn dies and flower foam from a variety of manufacturers. I've used florist's wire and tape, and had to use rather different means of assembling the various flowers compared to paper, but it was an interesting experience, as was relying on hot glue! I've used Sharpies to get extra colour on the flowers and styrofoam balls (from The Works) coloured red to add to the holly..Friday, 10 November 2023
Flowers and Scrabble Letters
My son and his partner recently moved into a new house. It's been a longish haul for them. Their first sale/flat they wanted fell through, mainly due to intransigence of both the other parties. Their buyer wanted to move quickly or he would pull out. The owner of the property they wanted insisted they had to go away for a month, and when they got back, they'd start looking for a rental property and only then would they be ready to complete on the sale. And all this was after nine months of wrangling when the legalities were all complete. So, it all fell apart and they waited for a couple of years before trying again. This time, they went for a new-build house, and they finally moved!
To mark the occasion, I made a framed picture. I don't expect it to be displayed forever - and I fully expect they'll repurpose the frame, but it's only intended to be short term.
The frame is from Hobbycraft. I used stencils and a variety of inks for the background, with some stamped, heat embossed butterflies too.
The 'Scrabble' letters were made using Tonic dies. The flowers are Susan Tierney-Cockburn designed dies from several manufacturers. The dark green foliage was cut using dies from The Works. The butterfly is layered and cut using Spellbinders dies.
This is the first time I've used the Rhododendron die set. I'm a little disappointed, as, although it looks fine, I don't think it's particularly realistic, which is unusual for Susan's designs. Although that may be because the instructions for making this flower are no longer available, so I had to use techniques from other flowers and hope for the best.
I do quite like the addition of orangey 'greenery'. I think it just adds something to the overall effect and helps with balance especially with a greeny-blue background.
Monday, 1 May 2023
Inky Blending and Masking
Last year, we did a session on inky blending, and the group wanted to do a similar session this term. We used Distress Inks for backgrounds, stencils for texture, stamps stamped with Versafine Clair ink for focal points. Stencils are from Clarity, Creative Expressions, Crafter's Companion, and Lavinia and stamps from Lavinia, Inkylicious, Woodware, and Spellbinders.
Dominique
Wednesday, 22 March 2023
Cards
I've made a few cards this week, all for reasons you'd prefer not to have for making cards.
First, a card I made for a friend who's due to go into hospital for surgery:
I used a Sizzix die set for the owl, and an Elizabeth Craft set for the oval. The papers are from a magazine. I cut an aperture out of the paper-covered front of the card and placed the mounted owl into the space.
Friday, 17 March 2023
Hand Made Flowers, Frame and Stitching
I recently treated myself to a couple of the discontinued Elizabeth Craft/Susan Tierney Cockburn die sets, and I wanted to make something a little different with them. One of the sets is actually an oval nesting set, but with some bigger dies than I have. I got the original sets of Spellbinders Nestibilities, but the problem with them was always that the format was too small. I think their US bias got stuck on that odd 'A2' size card they use which isn't standard anywhere else. So, even for A6 cards, their dies just didn't look quite right. But enough of that.
The first part of the project was to cut out the frame elements. For them, I used an Elizabeth Craft die I've had for some time. It's smaller than I'd like, so I stretched the pieces to approximately 9 and 11 inches long giving me a frame with a 7 by 9 inch aperture. I always get it wrong when I do this - one piece of card ends up in the bin during the process, and this time was no exception.
Because the black card I used isn't the best quality, I reinforced the underside of the front panels with strips of the same black card before pricking out the stitching pattern. The pattern I used came from a book I've had for many years called The Art of Decorative Paper Pricking by Janet Wilson. It's not really intended for stitching, and it's not even one of the patterns in the book - it's actually used as page decoration. But, with a little resizing in Photoshop Elements, I got it to a suitable size, and printed out a strip for each frame edge. I used Sulky Blendables to stitch the pattern.
Another recent (bargain) purchase, is the embossing folder I used here. I don't use A4 embossing folders often, but when you want to emboss a bigger area, smaller ones won't do the job. I got his folder (from Crafts Too) at Crafterama at Ally Pally last weekend. I embossed a bit of Coredinations Whitewash card I've had for ages. (I don't even know if it's still on the market.) I sanded the surface after embossing. I had to add another layer of card behind the Coredinations as it was a bit floppy - especially after embossing.
The next stage was to cut some corners for the frame (Spellbinders die - it's one of their debossing range that never really took off. I definitely found them very hard to cut with - fortunately, there's not much actual cutting needed for this corner die. I then cut another piece of the satin gold card and used the Elizabeth Craft oval die to cut the aperture. I then embossed the gold card using the same folder, and attached it with foam pads doubled up for extra height.
Then, I got to the really fun part. I cut pieces for three dahlias in white card and coloured using Promarkers. I added some striping (white on the shocking pink flower and magenta on the yellow) using fine Posca pens. The peach coloured flower has some added magenta promarker added to the petal tips for a bit of added colour.
That's about that!
A little word about Ally Pally last weekend. It was the first time I've been back since Covid lockdowns, and, of course, since it changed ownership. I think it's a real shame many of the exhibitors who used to go to Ally Pally haven't continued. Craft shops in London are pretty much limited to Hobbycraft - especially since Blade Rubber Stamps closed down. It's strange that such a large conurbation can't support a bigger show than this. I know it's probably more expensive because of generally higher London prices, but it's a real shame. Having said that, I did buy a few bits, and it was lovely to see a stall with just Aall and Create which was definitely something new for me. Unfortunately, my daughter wasn't well enough to come with me :(
Wednesday, 8 March 2023
Easter and Anniversary Cards
The first few are Easter cards from patterns by Stitching Cards.
Monday, 20 February 2023
A Special Birthday Card
I had to make a card for a special birthday. I'd seen someone using the Lavinia Lillium stamp as a partial background recently - I think it was on the Lavinia group on Facebook, but I wasn't planning on using it when I saw it, so I didn't not the originator. Anyway, that's how I started.
I made the card base approximately 8in square, and I've created a vine effect with the Sizzix/Susan Tierney Cockburn Beeblossom die, along with a couple of other branch dies from other Susan Tierney Cockburn set from other manufacturers. I coloured the flowers with Promarkers, adding some detail with Pan Pastel. The leaves were made using olive green card. I stamped the Lillium with Versafine Clair ink, and coloured the blooms with Promarker, then outlined them with an fine Posca pen. You can't see it in the photo, but I finished the flowers by adding a layer of clear glitter marker (Crafter's Companion). I created a suitable sentiment in Photoshop Elements and cut it and a mat with a Spellbinders die set. The stamped area was shaded with Distress Ink in Tattered Rose and Spun Sugar. I added a darker shade around the whole edge using Picked Raspberry (which I originally misread as Pickled Raspberry, and that's how I always think of it!) I've digitally removed the sentiment for the photo.
I made a couple of insert pages using similar techniques.
Beeblossom is quite a dimensional flower, so there's no way this card was going into an envelope. Therefore, the next stage was to make a box. I used 12 by 12 white card to make a basic lid and tray box which I decorated to match the card. Again, I've digitally removed the recipient's name.
I added an oval label area with a mask, and a little background texture with Tattered Rose ink and a Lavinia stencil.